


READY, PEDI, GO!
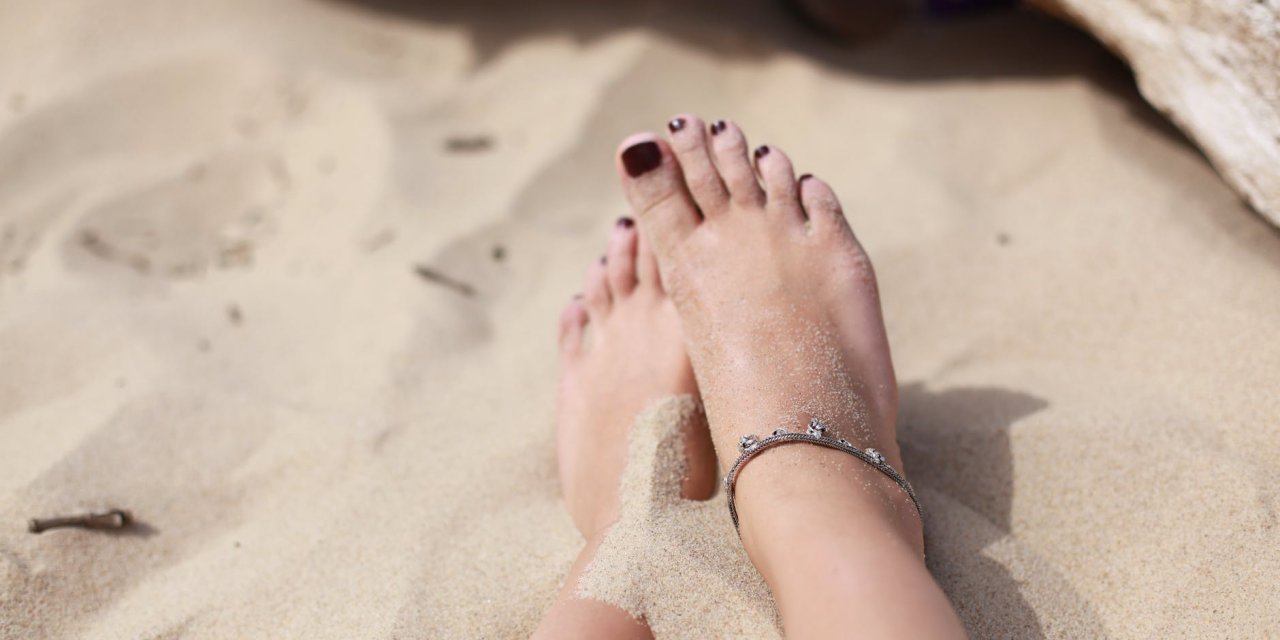
With Spring officially here, it hopefully won’t be too long until we can swap winter shoes into lighter sandals however with salons having been closed for an extended period, many of us will be holding out for a salon pedicure.
Helping to transform feet, our Nail Expert Lynn Gray has a step-by-step guide to perfecting an at-home pedicure.
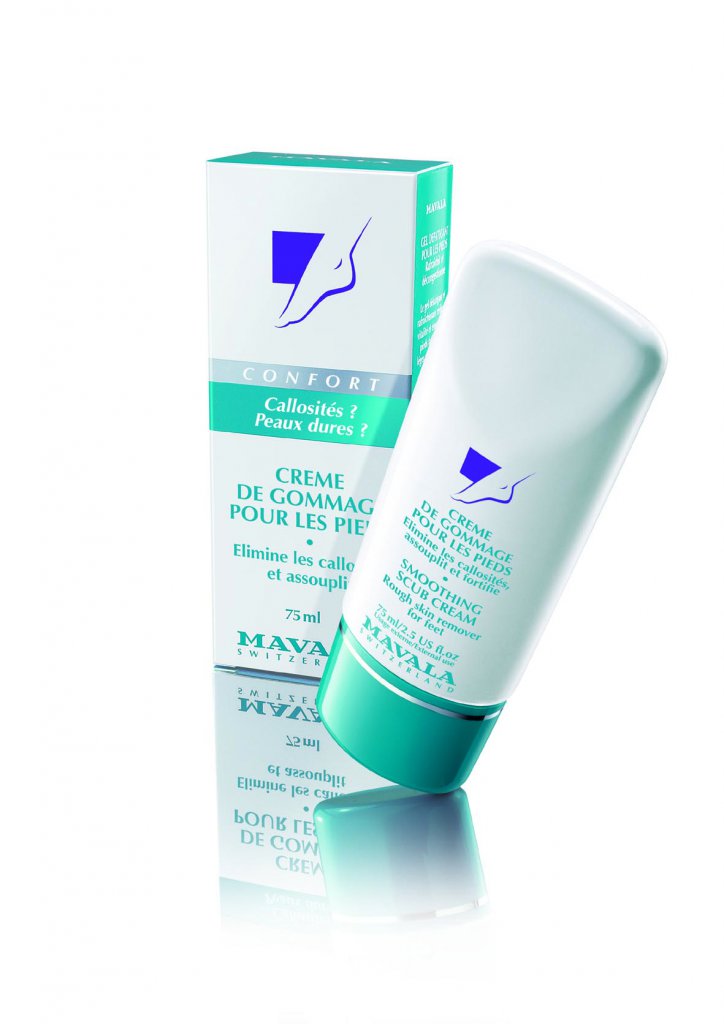
Step 1
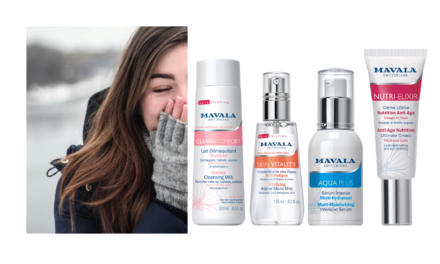
Prepare the feet by using a Smoothing Scrub Cream to remove callouses and any hard skin. This will leave feet feeling supple and pedi ready.
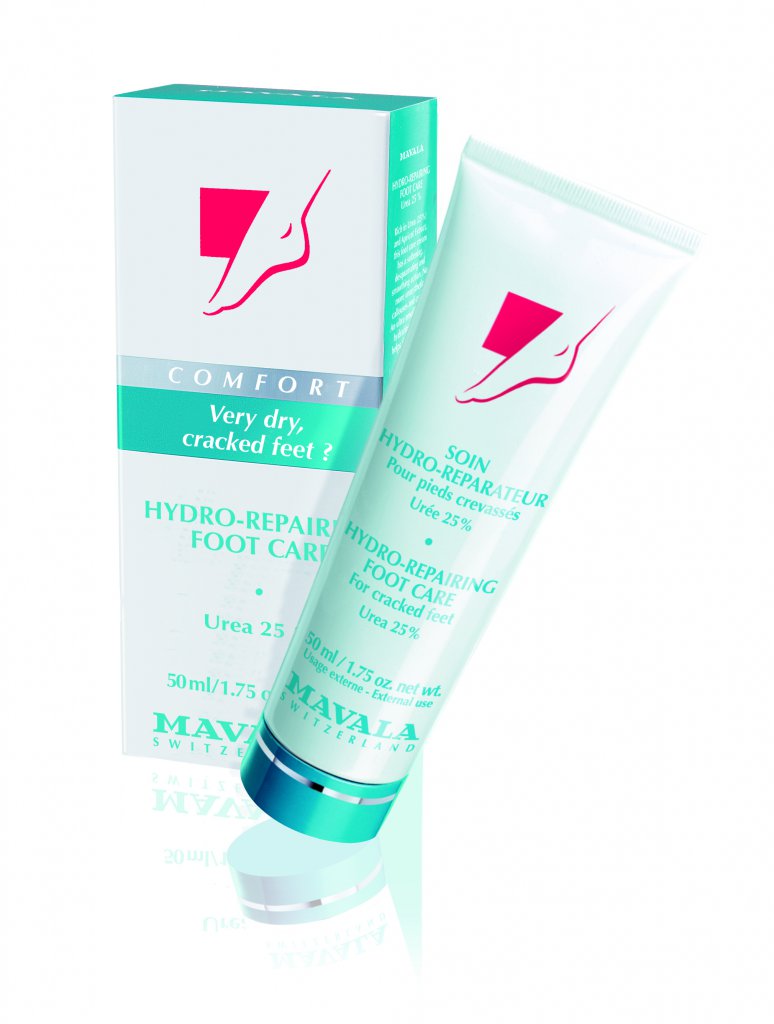
Step 2
After exfoliating the feet, always moisturise to ensure feet are protected, nourished and softened, plus to help prevent further dry scaly and cracking skin forming. Try the Hydro-Repair Foot Care for intense moisture.
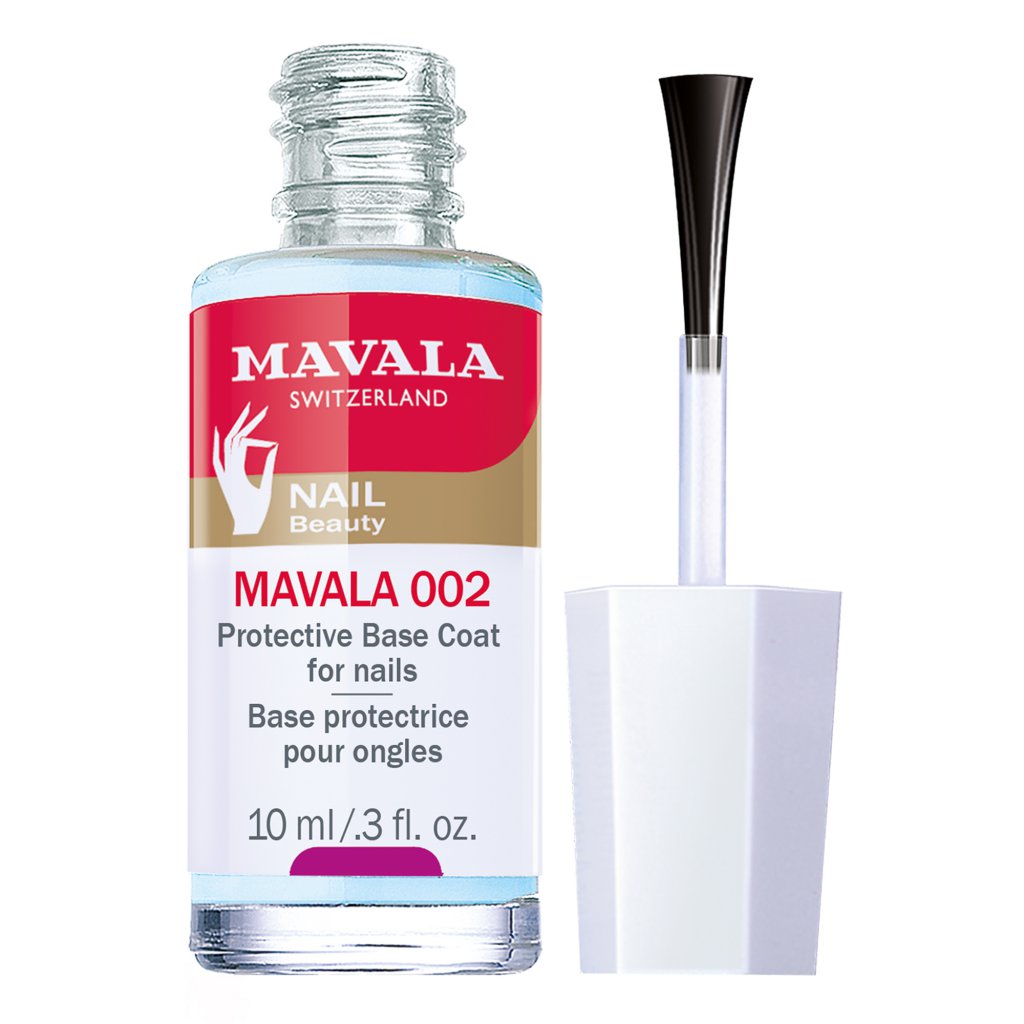
Step 3
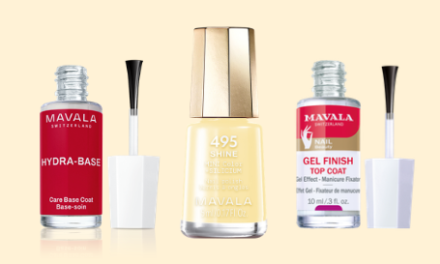
Always use a base coat for pedicures as this will not only protect the nails from discolouration but act as a primer for the colour, making it last longer. This is important on the toes as we typically keep this on for longer making the risk of discolouration greater. We’d recommend the 002 Protective Base Coat.
Step 4
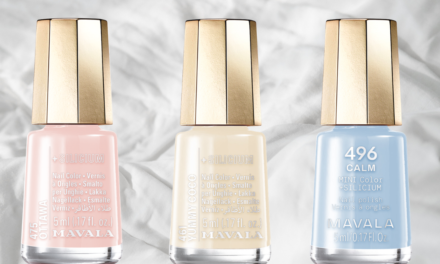
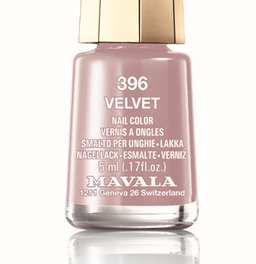
Pick your colour! A bright coral shade like Mavala’s Coral Bay is always a best-selling Spring/Summer option and is great for elongating the toes.

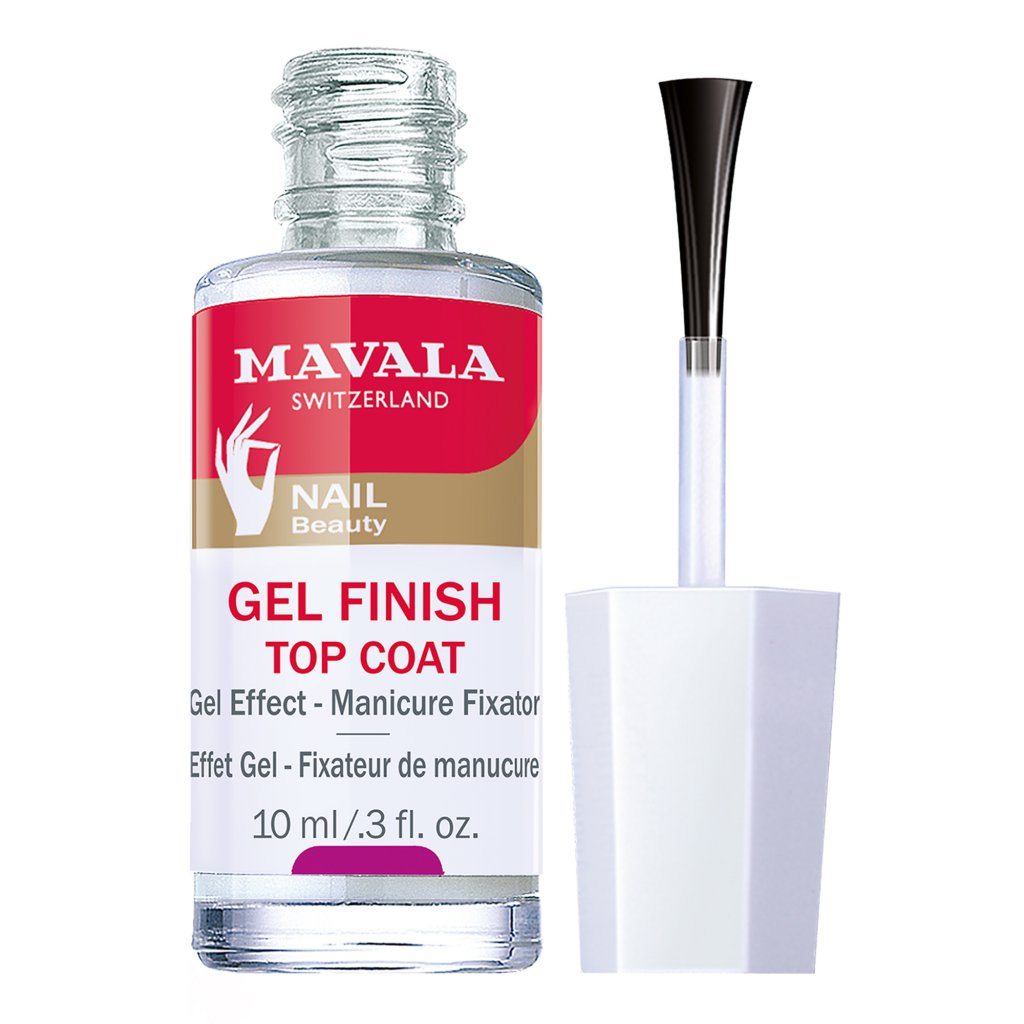
Step 5
Always apply a topcoat when you have finished your pedi, as it will add a perfect shine to your nails and protect them from chipping. Try the Gel Finish Top Coat for a gel finish without the potential damage.
Products available from Nail Polish Direct, Look Fantastic


